Implement Data Validation in MVC:
In this section, you will learn how to implement data validations in the ASP.NET MVC application.
We have created an Edit view for Student in the previous section. Now, we will implement data validation in the Edit view, which will display validation messages on the click of Save button, as shown below if Student Name or Age is blank.
 Validation
DataAnnotations:
ASP.NET MVC uses DataAnnotations attributes to implement validations. DataAnnotations includes built-in validation attributes for different validation rules, which can be applied to the properties of model class. ASP.NET MVC framework will automatically enforce these validation rules and display validation messages in the view.
The DataAnnotations attributes included in System.ComponentModel.DataAnnotations namespace. The following table lists DataAnnotations validation attributes.
|
Attribute
|
Description
|
| Required
|
Indicates that the property is a required field
|
| StringLength
|
Defines a maximum length for string field
|
| Range
|
Defines a maximum and minimum value for a numeric field
|
| RegularExpression
|
Specifies that the field value must match with specified Regular Expression
|
| CreditCard
|
Specifies that the specified field is a credit card number
|
| CustomValidation
|
Specified custom validation method to validate the field
|
| EmailAddress
|
Validates with email address format
|
| FileExtension
|
Validates with file extension
|
| MaxLength
|
Specifies maximum length for a string field
|
| MinLength
|
Specifies minimum length for a string field
|
| Phone
|
Specifies that the field is a phone number using regular expression for phone numbers
|
Let's start to implement validation in Edit view for student.
Step 1: First of all, apply DataAnnotation attribute on the properties of Student model class. We want to validate that StudentName and Age is not blank. Also, Age should be between 5 and 50. Visit Model section if you don't know how to create a model class.
Example: Apply DataAnnotation Attributes
public class Student
{
    public int StudentId { get; set; }

    [Required]
    public string StudentName { get; set; }

    [Range(5,50)]
    public int Age { get; set; }
}

You can also apply multiple DataAnnotations validation attributes to a single property if required.
In the above example, we have applied a Required attribute to the StudentName property. So now, the MVC framework will automatically display the default error message, if the user tries to save the Edit form without entering the Student Name. In the same way, the Range attribute is applied with a min and max value to the Age property. This will validate and display an error message if the user has either not entered Age or entered an age less than 5 or more than 50.
Step 2: Create the GET and POST Edit Action method in the same as previous section. The GET action method will render Edit view to edit the selected student and the POST Edit method will save edited student as shown below.
Example: Edit Action methods:
using MVC_BasicTutorials.Models;

namespace MVC_BasicTutorials.Controllers
{
    public class StudentController : Controller
    {
        public ActionResult Edit(int id)
        {
            var std = studentList.Where(s => s.StudentId == StudentId)
                                 .FirstOrDefault();

            return View(std);
        }


        [HttpPost]
        public ActionResult Edit(Student std)
        {
            if (ModelState.IsValid) {

                //write code to update student

                return RedirectToAction("Index");
            }

            return View(std);
        }
    }
}
As you can see in the POST Edit method, we first check if the ModelState is valid or not. If ModelState is valid then update the student into database, if not then return Edit view again with the same student data.
ModelState.IsValid determines that whether submitted values satisfy all the DataAnnotation validation attributes applied to model properties.
Step 3: Now, create an Edit view for Student.
To create an Edit view, right click inside Edit action method -> click Add View..
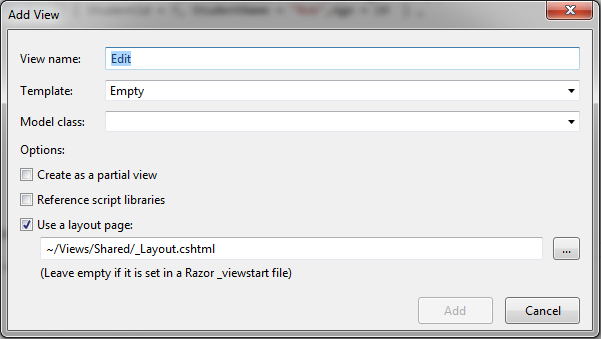 Create Edit View
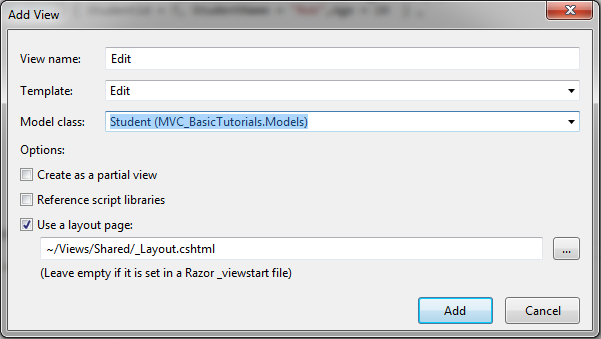
In the Add View dialogue, keep the view name as Edit. (You can change as per your requirement.)
Select the Edit template in the Template dropdown and also select Student Model class as shown below.
 Create Edit View
Now, click Add to generate Edit view under View/Student folder. Edit.cshtml will be generated as shown below.
Edit.cshtml:
@model MVC_BasicTutorials.Models.Student

@{
    ViewBag.Title = "Edit";
    Layout = "~/Views/Shared/_Layout.cshtml";
}

<h2>Edit</h2>

@using (Html.BeginForm())
{
    @Html.AntiForgeryToken()

    <div class="form-horizontal">
        <h4>Student</h4>
        <hr />
        @Html.ValidationSummary(true, "", new { @class = "text-danger" })
        @Html.HiddenFor(model => model.StudentId)

        <div class="form-group">
            @Html.LabelFor(model => model.StudentName, htmlAttributes: new { @class = "control-label col-md-2" })
            <div class="col-md-10">
                @Html.EditorFor(model => model.StudentName, new { htmlAttributes = new { @class = "form-control" } })
                @Html.ValidationMessageFor(model => model.StudentName, "", new { @class = "text-danger" })
            </div>
        </div>

        <div class="form-group">
            @Html.LabelFor(model => model.Age, htmlAttributes: new { @class = "control-label col-md-2" })
            <div class="col-md-10">
                @Html.EditorFor(model => model.Age, new { htmlAttributes = new { @class = "form-control" } })
                @Html.ValidationMessageFor(model => model.Age, "", new { @class = "text-danger" })
            </div>
        </div>

        <div class="form-group">
            <div class="col-md-offset-2 col-md-10">
                <input type="submit" value="Save" class="btn btn-default" />
            </div>
        </div>
    </div>
}

<div>
    @Html.ActionLink("Back to List", "Index")
</div>
As you can see in the above Edit.cshtml, it calls Html Helper method ValidationMessageFor for every field and ValidationSummary method at the top. ValidationMessageFor is responsible to display error message for the specified field. ValidationSummary displays a list of all the error messages at once.
So now, it will display default validation message when you submit an Edit form without entering a Name or Age.
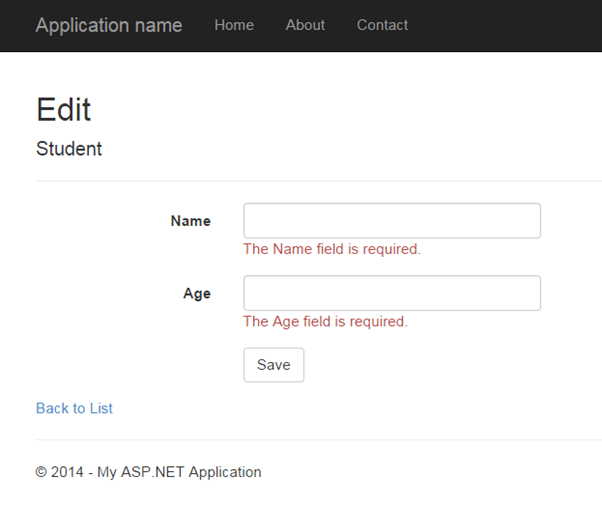 Validation
Thus, you can implement validations by applying various DataAnnotation attributes to the model class and using ValidationMessage() or ValidationMessageFor() method in the view.
Further Reading:
Points to Remember :
- ASP.NET MVC uses DataAnnotations attributes for validation.
- DataAnnotations attributes can be applied to the properties of the model class to indicate the kind of value the property will hold.
- The following validation attributes available by default
- Required
- StringLength
- Range
- RegularExpression
- CreditCard
- CustomValidation
- EmailAddress
- FileExtension
- MaxLength
- MinLength
- Phone
- Use ValidationSummary to display all the error messages in the view.
- Use ValidationMessageFor or ValidationMessage helper method to display field level error messages in the view.
- Check whether the model is valid before updating in the action method using ModelState.IsValid.
- Enable client side validation to display error messages without postback effect in the browser.